---
title: "Nestable Slider: Customization via JavaScript"
description: "Customize individual Nestable Slider instances in Bricks with JavaScript while keeping the main slider reusable."
canonical: "https://academy.bricksbuilder.io/builder/features/nestable-slider-instance/"
markdownUrl: "https://academy.bricksbuilder.io/builder/features/nestable-slider-instance.md"
pageType: "article"
section: "builder"
category: "features"
lastmod: "2026-05-21T13:58:32.000Z"
---
Bricks introduced the Nestable Slider in version 1.5, utilizing the [SplideJS](https://splidejs.com/) library.
This article is intended for developers, walking you through how to access and customize the Splide instance.
All initialized Splide instances are stored and can be accessed through `window.bricksData.splideInstances`.
You must first identify the Nestable Slider element's unique ID to retrieve the appropriate instance from the variable. You can find this ID within the builder when editing this element or through your browsers' developer tools.

According to the example above, I can access my Splide Instance through `window.bricksData.splideInstances['rrbqsp']`
:::note
If you have assigned a custom CSS ID to the Slider, please note that this ID is not the same as the element ID. In such cases, you should obtain the correct element ID through your browser's developer tools.
:::
## Update Nestable Slider options via JavaScript {#update-slider-options}
Objective: Update `noDrag` option for all Nestable Sliders on the current page.
```php
```
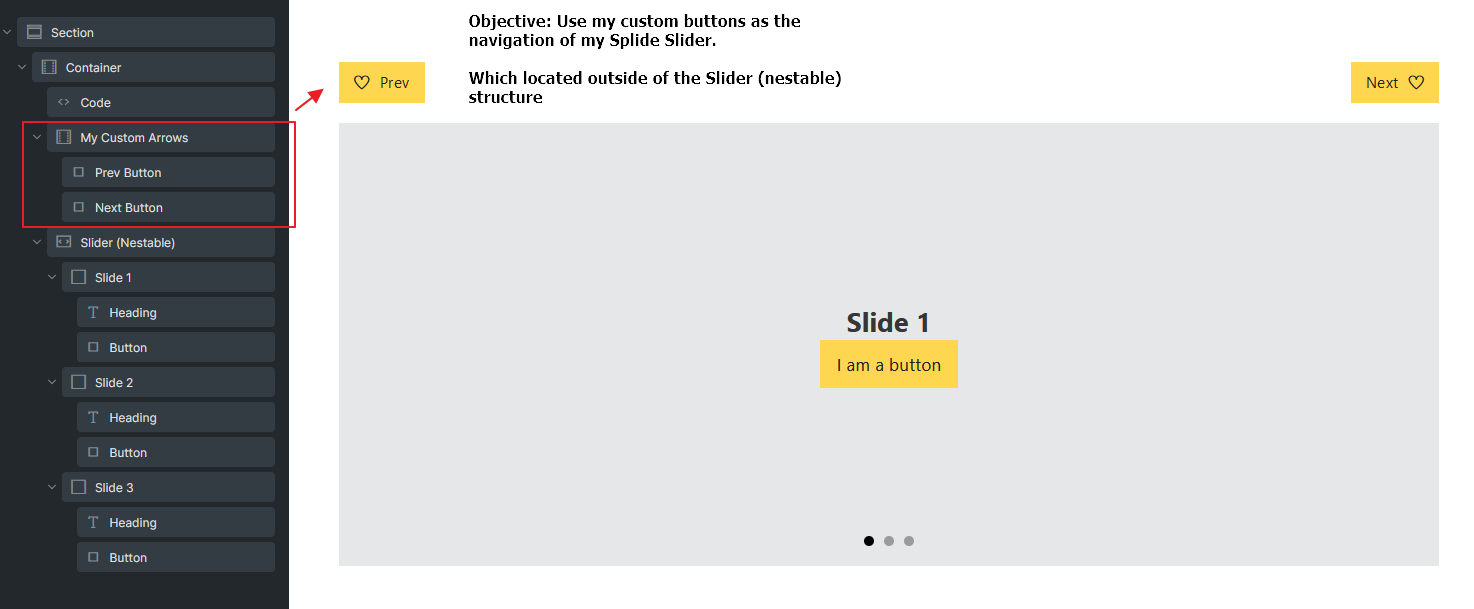
## Custom navigation arrows outside the slider {#custom-arrows}
Objective: Implement custom navigation buttons located outside of the Nestable Slider.
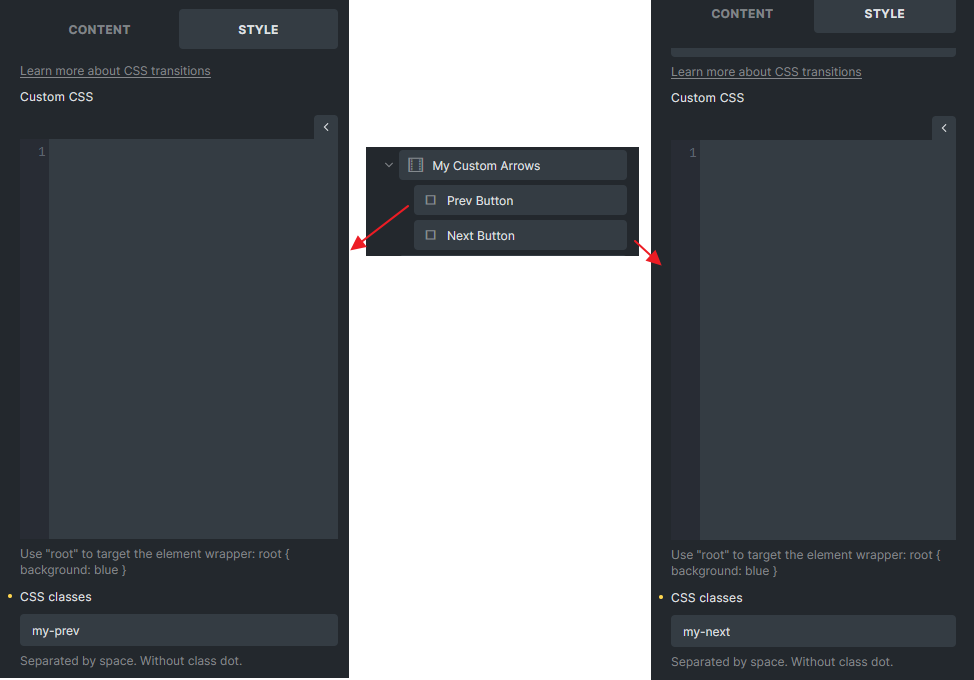
Please set unique classes for your buttons. We assigned the `my-prev` and `my-next` CSS classes in our example.
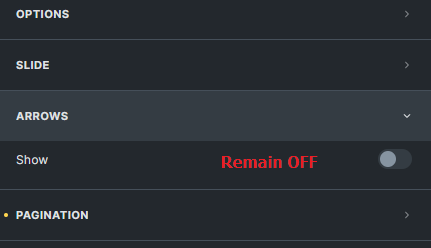
Next, place a Code element and write some simple JavaScript. Remember to turn **ON **the Execute code checkbox. (Arrows for the Slider remained **OFF**)
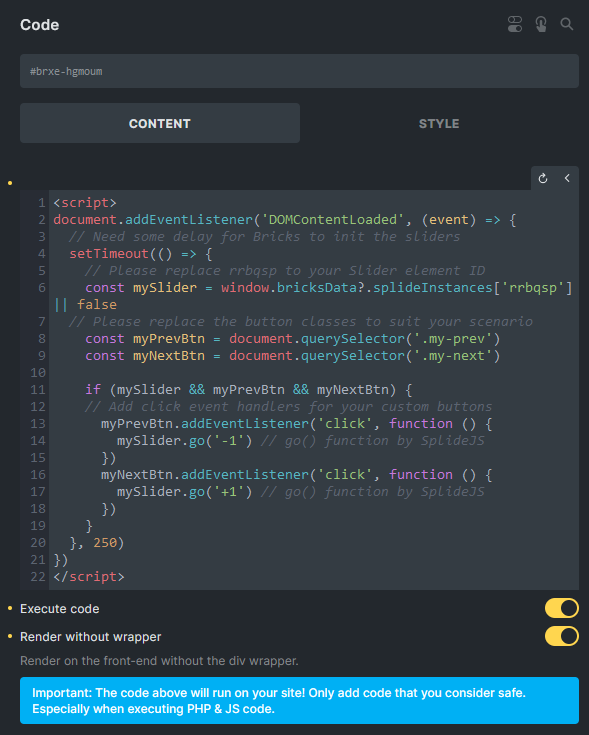
```php
```