Creating Your First Template
Templates let you design parts of your site once and let Bricks render them in the right place. A header template can render above your content, a footer template below it, and a single template can replace the main layout for posts, pages, or custom post types.
This article walks through the first three templates most sites need:
- A site header
- A site footer
- A single post layout
The same workflow applies to archive, search, error, popup, password protection, WooCommerce product archive, and WooCommerce single product templates. The important decisions are usually the same: choose the right template type, build the layout, set the preview content, decide where the template should render, then publish and test it on the frontend.
Other WooCommerce route templates, such as cart, checkout, thank-you, and account templates, use the same create-build-publish flow, but Bricks renders them automatically on the matching WooCommerce route. Those route templates do not use the normal Conditions or Populate Content controls.
Create a template
Section titled “Create a template”You can create templates from the WordPress dashboard or from inside the builder.
From the WordPress dashboard:
- Go to Bricks > Templates.
- Click Add New Template.
- Enter a clear name, such as “Main Header”, “Main Footer”, or “Single Post”.
- Select the Template type in the sidebar.
- Publish the template.
- Click Edit with Bricks.
From inside the builder:
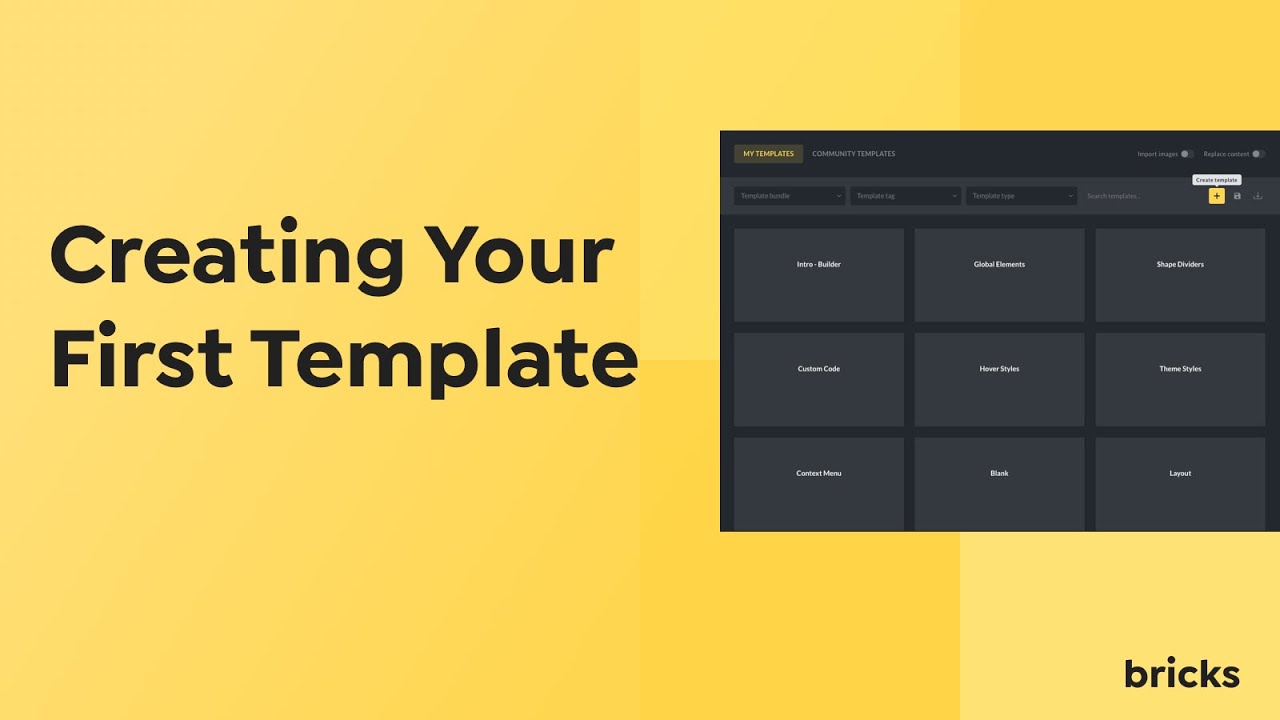
- Open the Templates popup from the folder icon in the toolbar.
- Open My Templates.
- Click New template.
- Enter a title and select the template type.
- Create the template, then start editing it.
The template type controls how Bricks treats the template. For example, a Header template is stored and rendered as the site header area, while a Single template is stored and rendered as the main content area for matching pages.
Create a header template
Section titled “Create a header template”Use a header template for the site area that appears before the main content. A normal header usually contains a logo, navigation, call-to-action button, search, account links, or similar site-wide elements.
- Create a new template named “Main Header”.
- Set Template type to Header.
- Publish it and open it with Bricks.
- Build the header layout on the canvas.
- Open Settings > Template Settings > Populate Content.
- Select content that makes sense for previewing the header, such as a page or single post.
- Open Settings > Template Settings > Conditions.
- Add Entire website if the header should appear everywhere.
- Save the template and test a normal frontend page.
By default, Bricks can use a published header template even if it has no conditions. This default-template behavior is controlled from Bricks > Settings > Templates > Disable default templates.
If default templates are enabled and you have a published header without conditions, Bricks can use it as the site header. If default templates are disabled, set template conditions explicitly.
Header settings
Section titled “Header settings”Header templates have an additional Header settings group under Settings > Template Settings.
Use it to control:
- Header location: top, left, or right.
- Header width: available for left and right headers.
- Sticky header: available for top headers.
- Sticky on scroll: keeps the header in normal flow on page load, then makes it sticky after scrolling.
- Slide up after: lets a sticky header hide after a scroll distance.
- Scrolling styles: text color, hover color, background, box shadow, and transition while the sticky header is in its scrolling state.
Left and right headers affect the layout beside the content and footer. Top headers are the usual choice for most websites.
Create a footer template
Section titled “Create a footer template”Use a footer template for the site area that appears after the main content. A normal footer contains copyright text, footer navigation, contact links, social links, newsletter forms, or legal links.
- Create a new template named “Main Footer”.
- Set Template type to Footer.
- Publish it and open it with Bricks.
- Build the footer layout.
- Use Populate Content to preview the footer with a real page or post.
- Add a condition, usually Entire website.
- Save and test the frontend.
Like headers, published footer templates can be used by default when no conditions are set, unless default templates are disabled in Bricks settings.
Create a single post template
Section titled “Create a single post template”Use a Single template when you want Bricks to control the layout for posts, pages, or custom post type entries. For a blog post template, the canvas usually contains elements such as Post Title, Featured Image, Post Content, Author, Date, Terms, Comments, and related content.
- Create a new template named “Single Post”.
- Set Template type to Single.
- Publish it and open it with Bricks.
- Open Settings > Template Settings > Populate Content.
- Set Content type to Single (Post/Page/CPT).
- Select a real post to preview.
- Build the post layout using dynamic data and post elements.
- Open Settings > Template Settings > Conditions.
- Add Post type and select Posts.
- Save and test several published posts on the frontend.
The preview post only controls what you see while editing the template. The condition controls where the template is used on the frontend.
Conditions or default templates?
Section titled “Conditions or default templates?”For production sites, set conditions deliberately. Conditions make the template assignment visible and predictable.
Default templates are useful while getting started because Bricks can automatically use published templates of certain types when no conditions are set. This is most common for headers and footers, but Bricks also supports default behavior for archive, search, error, and supported WooCommerce route templates.
Disable default templates when you want every rendered template to be controlled by explicit conditions. You can do this in Bricks > Settings > Templates > Disable default templates.
Disable a header or footer on one page
Section titled “Disable a header or footer on one page”Landing pages and campaign pages often need no global header or footer.
To disable the header or footer for a specific page:
- Open the page with Bricks.
- Open Settings > Page Settings > General.
- Enable Disable header or Disable footer.
- Save the page.
This page setting applies to the page being rendered. It does not delete or change the template.
Preview content vs frontend output
Section titled “Preview content vs frontend output”Template editing needs a preview context. For example, a single post template needs one post to show dynamic data on the canvas. An archive template needs an archive context. A header or footer may need a page or post behind it so you can judge spacing and overlap.
Preview content does not assign the template to that content. It only changes the canvas context while editing.
Use conditions to control frontend assignment.
Common mistakes
Section titled “Common mistakes”The template is published but not visible: Check whether it has matching conditions. If default templates are disabled, a template without conditions will not be used automatically.
The wrong template appears: Look for a more specific matching template. Individual conditions outrank broad conditions such as Entire website. Exclude conditions can also disqualify a template.
The canvas looks empty or the dynamic data is wrong: Set Populate Content to a real page, post, archive, or search context that matches the template you are building.
A header or footer is missing on one page: Check that page’s Page Settings > General for Disable header or Disable footer.
A Single template does not affect posts: Make sure the template type is Single, the template is published, and the condition targets the correct post type or individual entries.
A Section template does not update inserted copies: Section templates are reusable library items. They do not sync inserted content between pages. Use Components for linked reusable structures.
Was this helpful?
A quick vote and short notes help us improve these docs faster.
Leave a note for us
Please do not include passwords, license keys, or personal data. We store submitted notes to improve the docs.
Thanks for sharing feedback. We're using it to improve these docs.