How To Install The Bricks Theme
You install Bricks the same as any other WordPress theme.
First, you have to download the latest version of Bricks from your account. After that head over to your WordPress dashboard. Go to Appearance > Themes and click the Add New button.
On the next screen click the Upload theme button and select the bricks.zip WordPress theme from your computer. Click Install Now.
If the upload fails, please make sure to set your max file upload size to at least 8 MB. As a last resort, you can unpack and upload the bricks folder via FTP into the /wp-content/themes directory.
Activate Your License
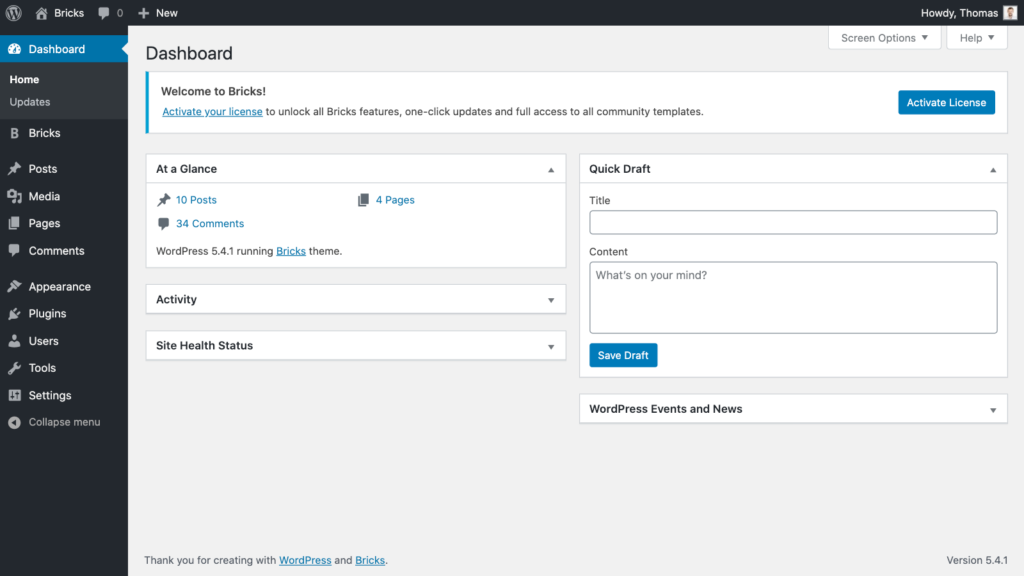
Once Bricks is installed you should see a new menu item named Bricks in your WordPress dashboard, plus the following notification that prompts you to activate your license in order to use the builder:

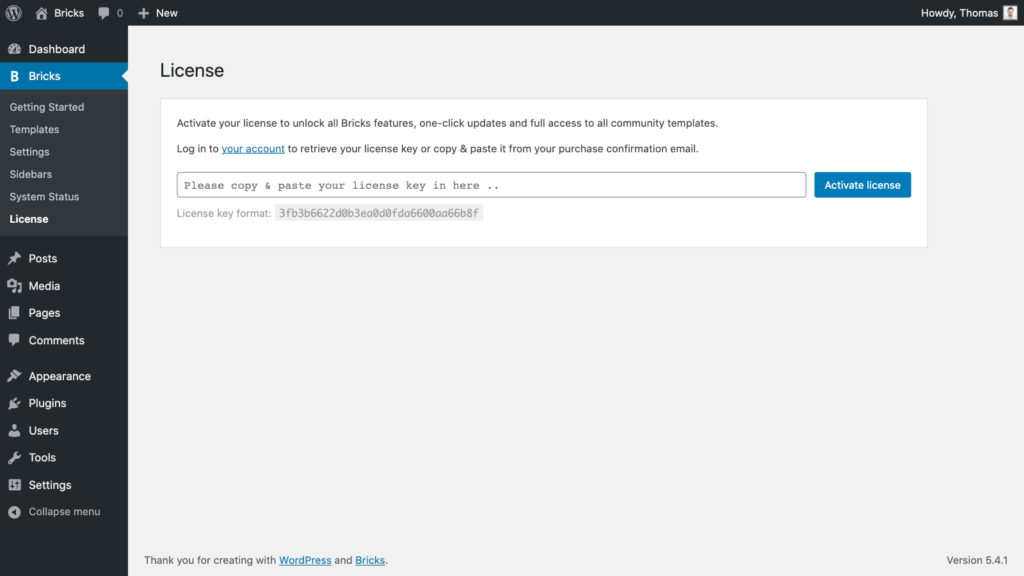
Go to Bricks > License or click the Activate License link. This should bring up the license activation screen:

Copy your Bricks license key from your Bricks account and paste it into the license field. Click Activate License.
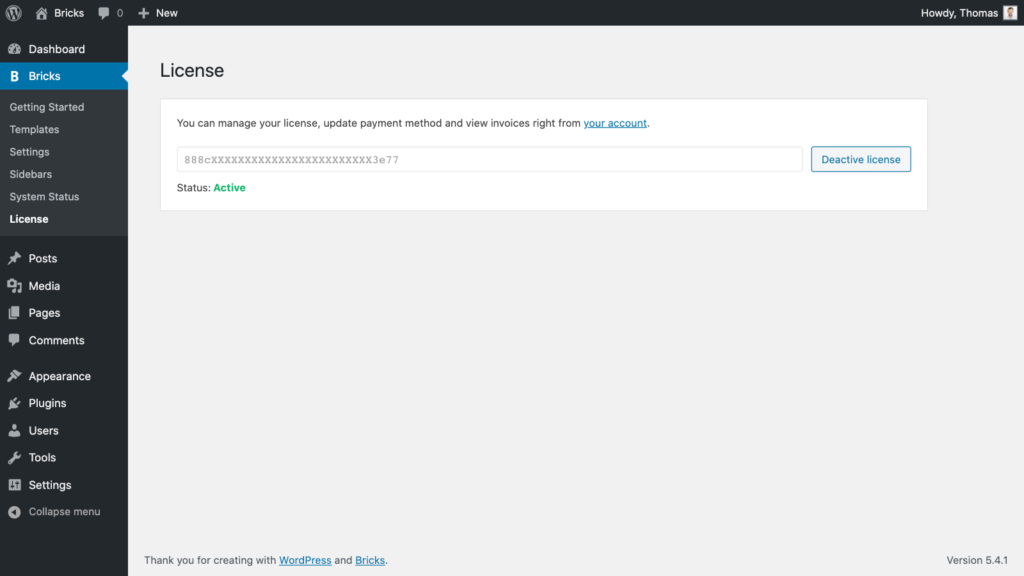
Your license should now be active:

That’s it! You are now ready to start building your site with Bricks.
Local, staging & intranet installations don’t count against your license limit
The following URL structures are qualified as local, staging, or intranet sites and do not count against your license limit.
Local URLs:
192.168.x.x127.0.0.1localhost(includes).local(top-level domain).test(top-level domain).wip(top-level domain)
Staging URLs:
devsubdomain:dev.mysite.comstagingsubdomain:staging.mysite.comtestsubdomain:test.mysite.com- Cloudways staging site:
wordpress-123-456.cloudwaysapps.com - Dreamhost staging site:
wordpress-123-456.stage.site - Pantheon Lando staging site:
wordpress-123-456.lndo.site
Intranet (top-level domains):
.intranet.internal.private.corp.home.lan
With a Bricks Starter license (1 active site limit), you can build your site locally with Bricks & use your Starter license on your live site simultaneously.
You can also always deactivate the license key from your site from your WP dashboard under Bricks > License, and activate it on another site. Or remove the site from your Bricks account under the “Sites” tab.